
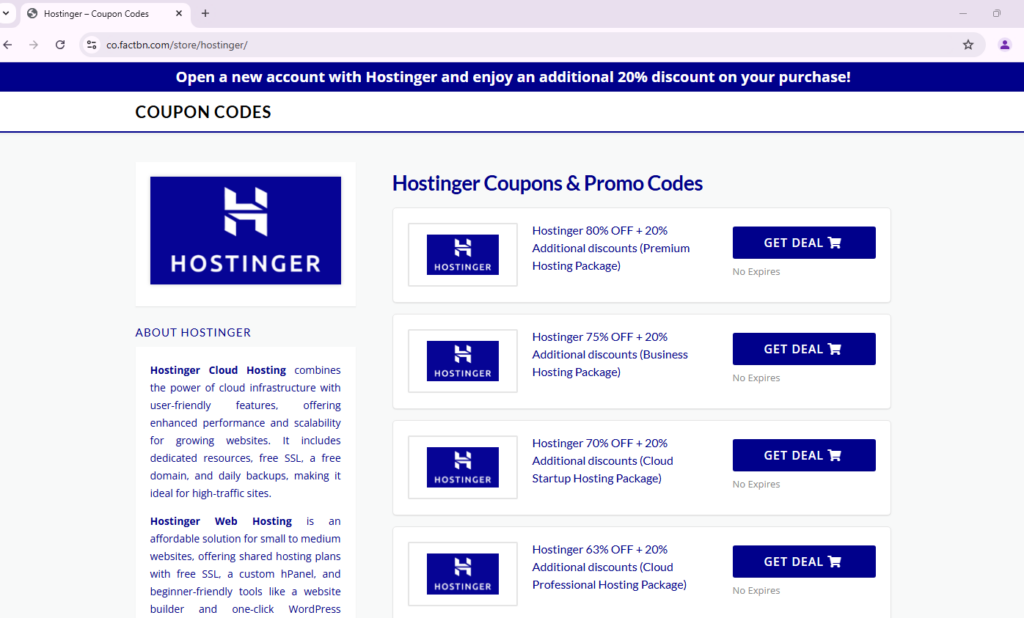
Hostinger Coupons & Promo Codes

Deal Activated, no coupon code required!
Expires: No Expires
Submitted: 11 months ago
Deal Activated, no coupon code required!
Expires: No Expires
Submitted: 11 months ago
Deal Activated, no coupon code required!
Expires: No Expires
Submitted: 11 months ago
Deal Activated, no coupon code required!
Expires: No Expires
Submitted: 11 months ago
Deal Activated, no coupon code required!
Expires: No Expires
Submitted: 11 months ago
Deal Activated, no coupon code required!
Expires: No Expires
Submitted: 11 months ago
Deal Activated, no coupon code required!
Expires: No Expires
Submitted: 11 months ago
Deal Activated, no coupon code required!
Expires: No Expires
Submitted: 11 months ago
Deal Activated, no coupon code required!
Expires: No Expires
Submitted: 11 months ago
Welcome to our website, and thank you for visiting! We hope you’re looking for a discount to purchase hosting from Hostinger. Below, we’ve outlined the steps to help you buy hosting from Hostinger at a discounted price. Please follow each step carefully.
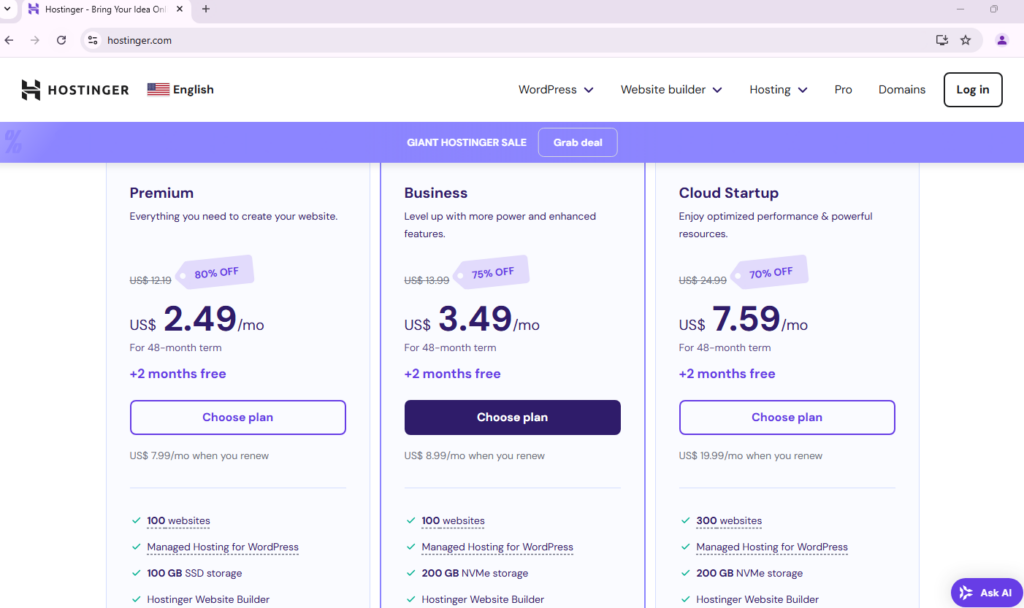
Step 1: Visit Hostinger’s Official Website
Go to the Hostinger official website. From there, choose your preferred hosting package, whether it’s Web Hosting, Cloud Hosting, or VPS Hosting, based on your requirements.
Step 2: Select a Discount Deal
Check out the available discount deals on the website. Select your desired hosting or VPS package from the options and click on the Get Deal button. This will automatically redirect you to the checkout page on Hostinger’s website.
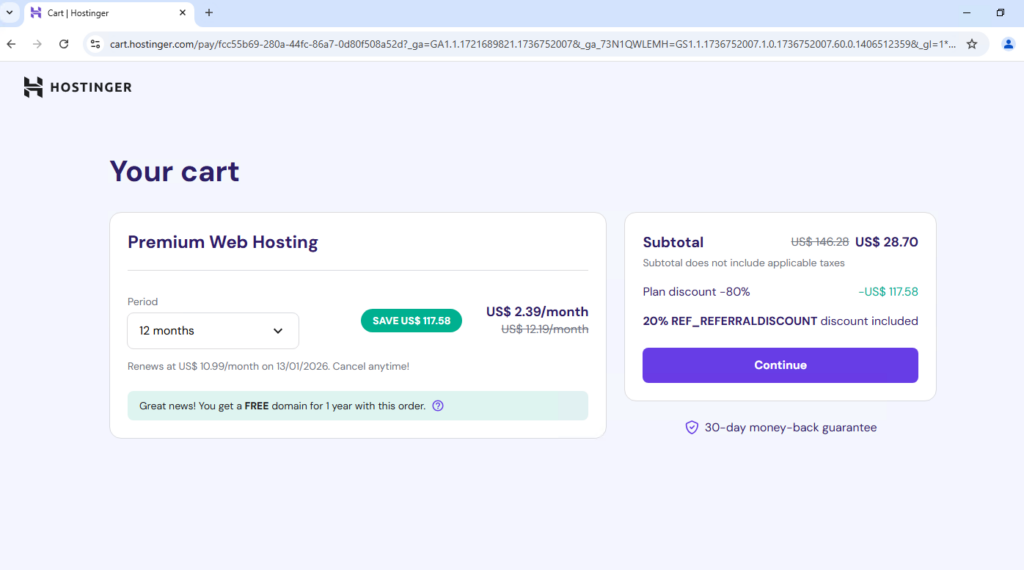
Step 3: Choose a Plan with Additional Discounts
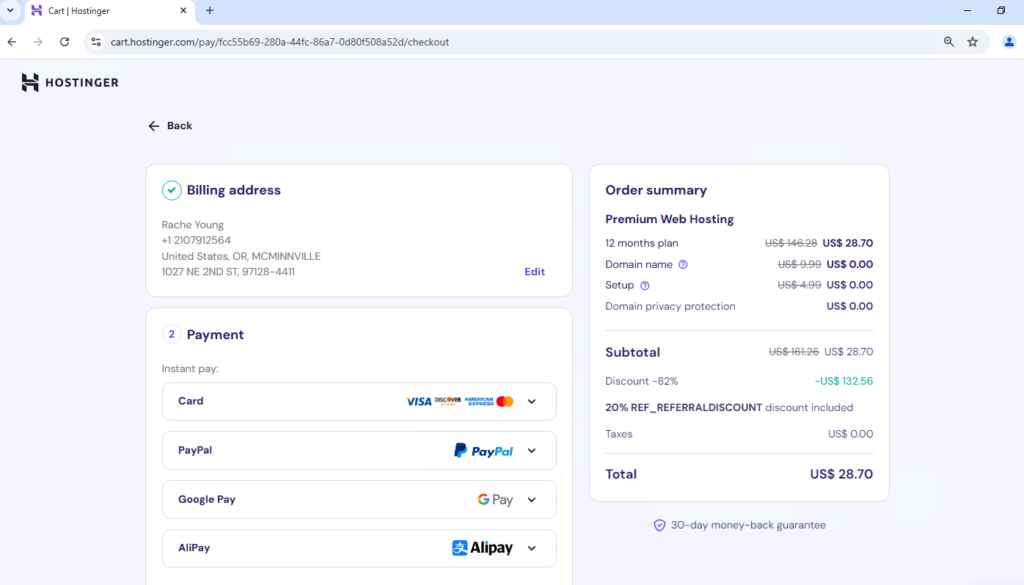
On the checkout page, you will notice that an additional 20% discount has been applied to your selected hosting package. Now, choose a subscription plan, such as 12 months, 24 months, or 48 months, based on your needs.
Step 4: Continue to Account Creation
Click on the Continue button. Next, you’ll need to create a new Hostinger account. Provide your email address and set a password. Alternatively, you can create an account using your Google account for quicker registration.

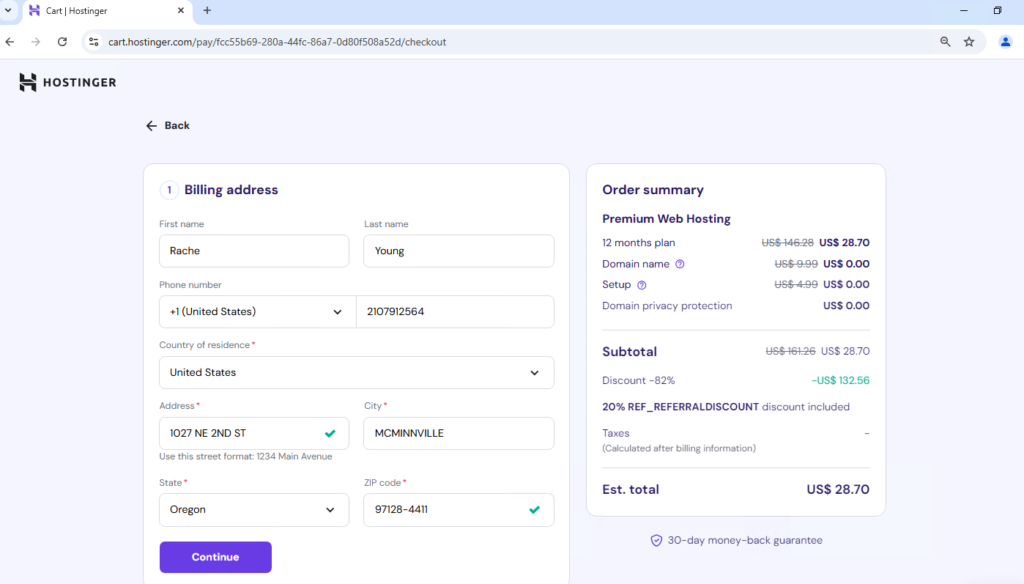
Step 5: Provide Billing Details
Once you’ve created your account, you’ll be prompted to fill in your billing information, including your name, mobile number, country, and address. After entering all the required details, click on the Continue button.
Step 6: Confirm Your Payment
At this final step, you can choose to complete your payment using any of the following methods:
- Credit or debit card
- PayPal
- Google Pay
- AliPay
Select your preferred payment method and confirm the payment.
Step 7: Access Your Hosting Package
That’s it! You’ve successfully purchased your hosting package from Hostinger. You can now log in to your Hostinger account and start using your hosting services. Check the email you used during signup to ensure everything is set up correctly.
Thank you for choosing Hostinger!